Process canvas
The process canvas is where you create processes by configuring a series of steps to control how data flows through the process. When you create a new process, the canvas automatically opens with a Start step. To add more steps, click the plus icon next to the Start step or use the steps palette.
The steps palette has three groups: Execute, Logic, and Connect. You can browse by group or use the search bar to look for a specific step.
When you add a step to the canvas, a configuration dialog appears. Depending on the step, you might need to choose a component, set parameters or properties, or change other settings.
You can add notes to a step by clicking the Notes tab in the configuration settings.
After closing the dialog, the step appears on the canvas. If any required configurations are missing, the step shows a warning icon and a link to the configuration dialog. You can reopen the dialog at any time by hovering over the step and clicking Configure.
Processes can have a maximum of 250 steps. After you place 100 steps on the canvas, you will receive a warning that you are approaching the limit every time you add a new step.
Arranging steps
To connect steps, click the arrow icon on one step and drag it to the next step. Clicking the arrow icon without dragging it disconnects steps. You can arrange steps on the canvas by dragging and dropping them.
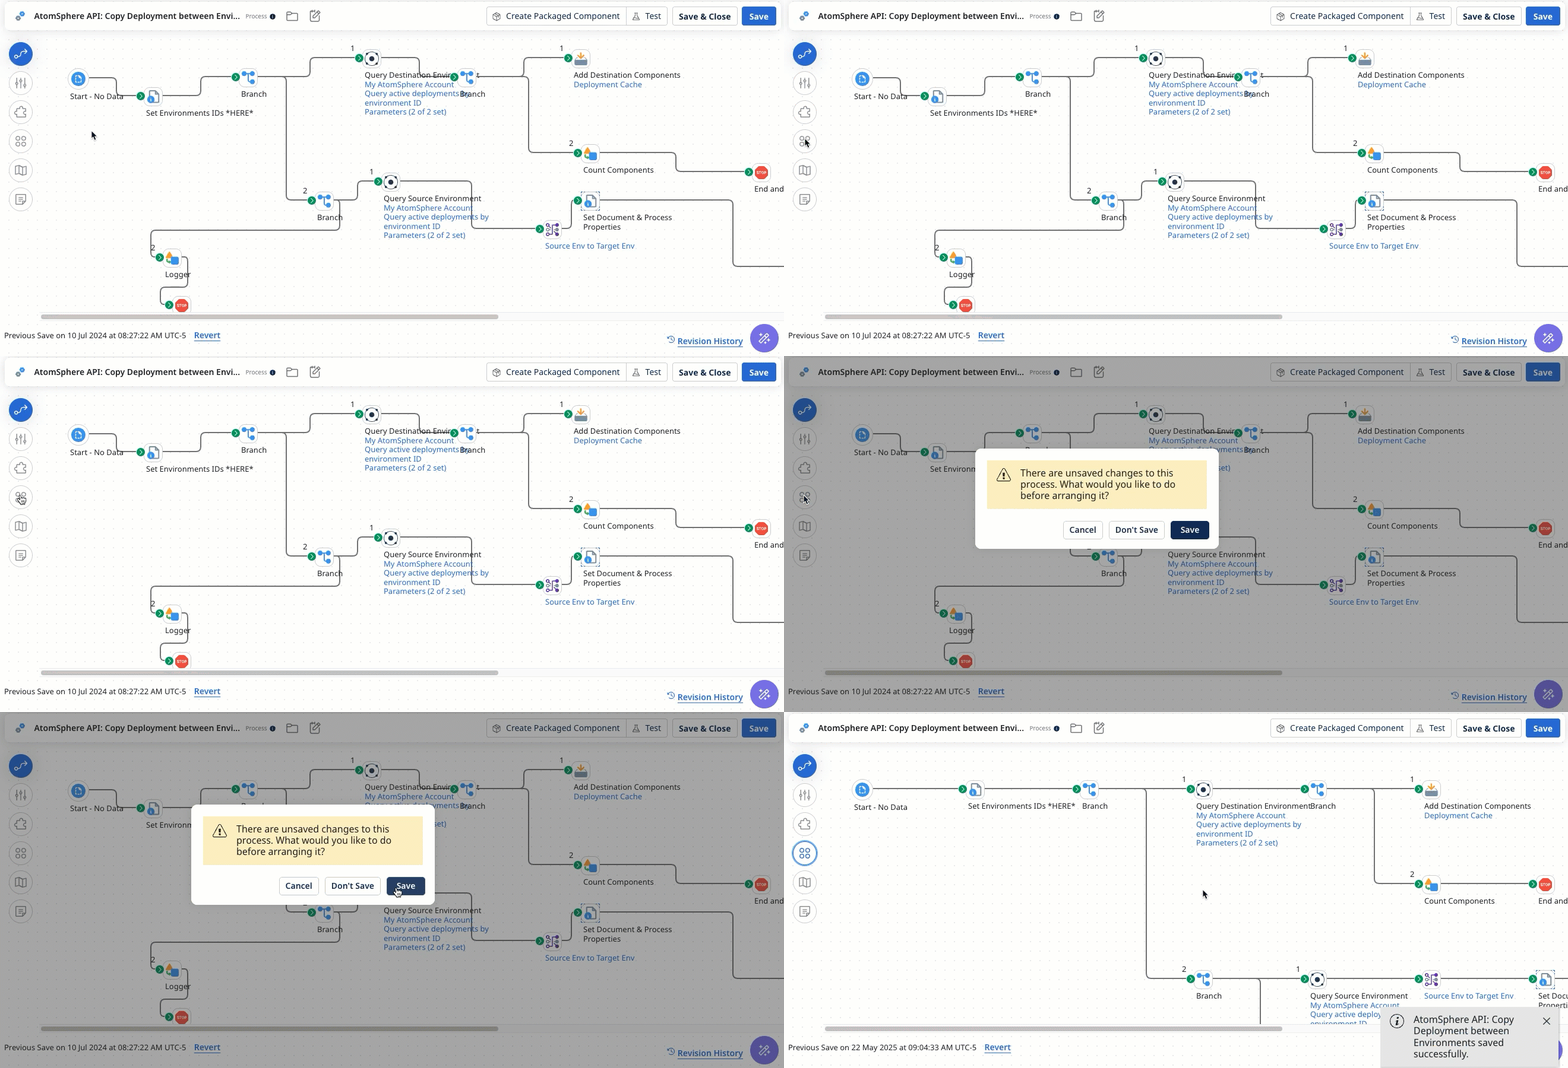
You can tidy the process canvas by using the Arrange button to automatically align steps, branches, and routes in your process. When you use this feature, you are prompted to save the process before the arrangement. Boomi recommends that you save the process so that you can easily revert if necessary.
When steps are automatically arranged, any unconnected steps are moved to the lower left of the process canvas.

Copying and pasting steps
You can copy and paste one or more steps within the same process or into a different process. When you copy steps, the following applies:
-
The step’s configuration is copied, including any notes.
-
If a step references components, the references are copied but not the components themselves. Editing a shared component impacts all process steps referencing it, including originals and copies.
-
The copied step’s configuration is independent of the of the original step's. You can edit the copied step without impacting the original.
-
If you copy multiple connected steps, the connections are maintained between steps.
-
You cannot copy a Start step independently. If you copy multiple steps that include a Start step, the copied Start step is not included when you paste the steps.
-
The copied steps remain in your clipboard until you clear the clipboard, close the browser window, switch to a new browser window, or copy a new step.
Step labels
Most steps have a default label that describes the step type that appears below their icon on the process canvas. For example, Set Properties, Message, or Branch.
Other steps have a label that changes based on how you configure them. For example, when you add a Connector step, you have to select the type of connector you want to use. After selecting a connector, its name appears as the label below the step, such as Salesforce or Google G Suite.
A few steps do not have default labels, such as the Map or Decision steps.
All steps have an optional Display Name field where you can customize the label to make it easier to identify the step on the canvas. Custom labels are especially useful when there are multiple steps of the same type in the process. The custom label can contain special characters, and there is no character limit.
Custom labels appear in the following places:
- Below the step icon on the process canvas
- On the Build page, when you test a process
- On the Process Reporting page in the View Process State and Show Logs dialogs
